DIFFERENTIAL
  ABSOLUTE
  FLOW
  METROLOGY
  SOFTWARE
  DIFFERENTIAL
  ABSOLUTE
  FLOW
  METROLOGY
  SOFTWARE

T6990

Absolute decay entry-level leak tester.
 

T6990

Always easier.
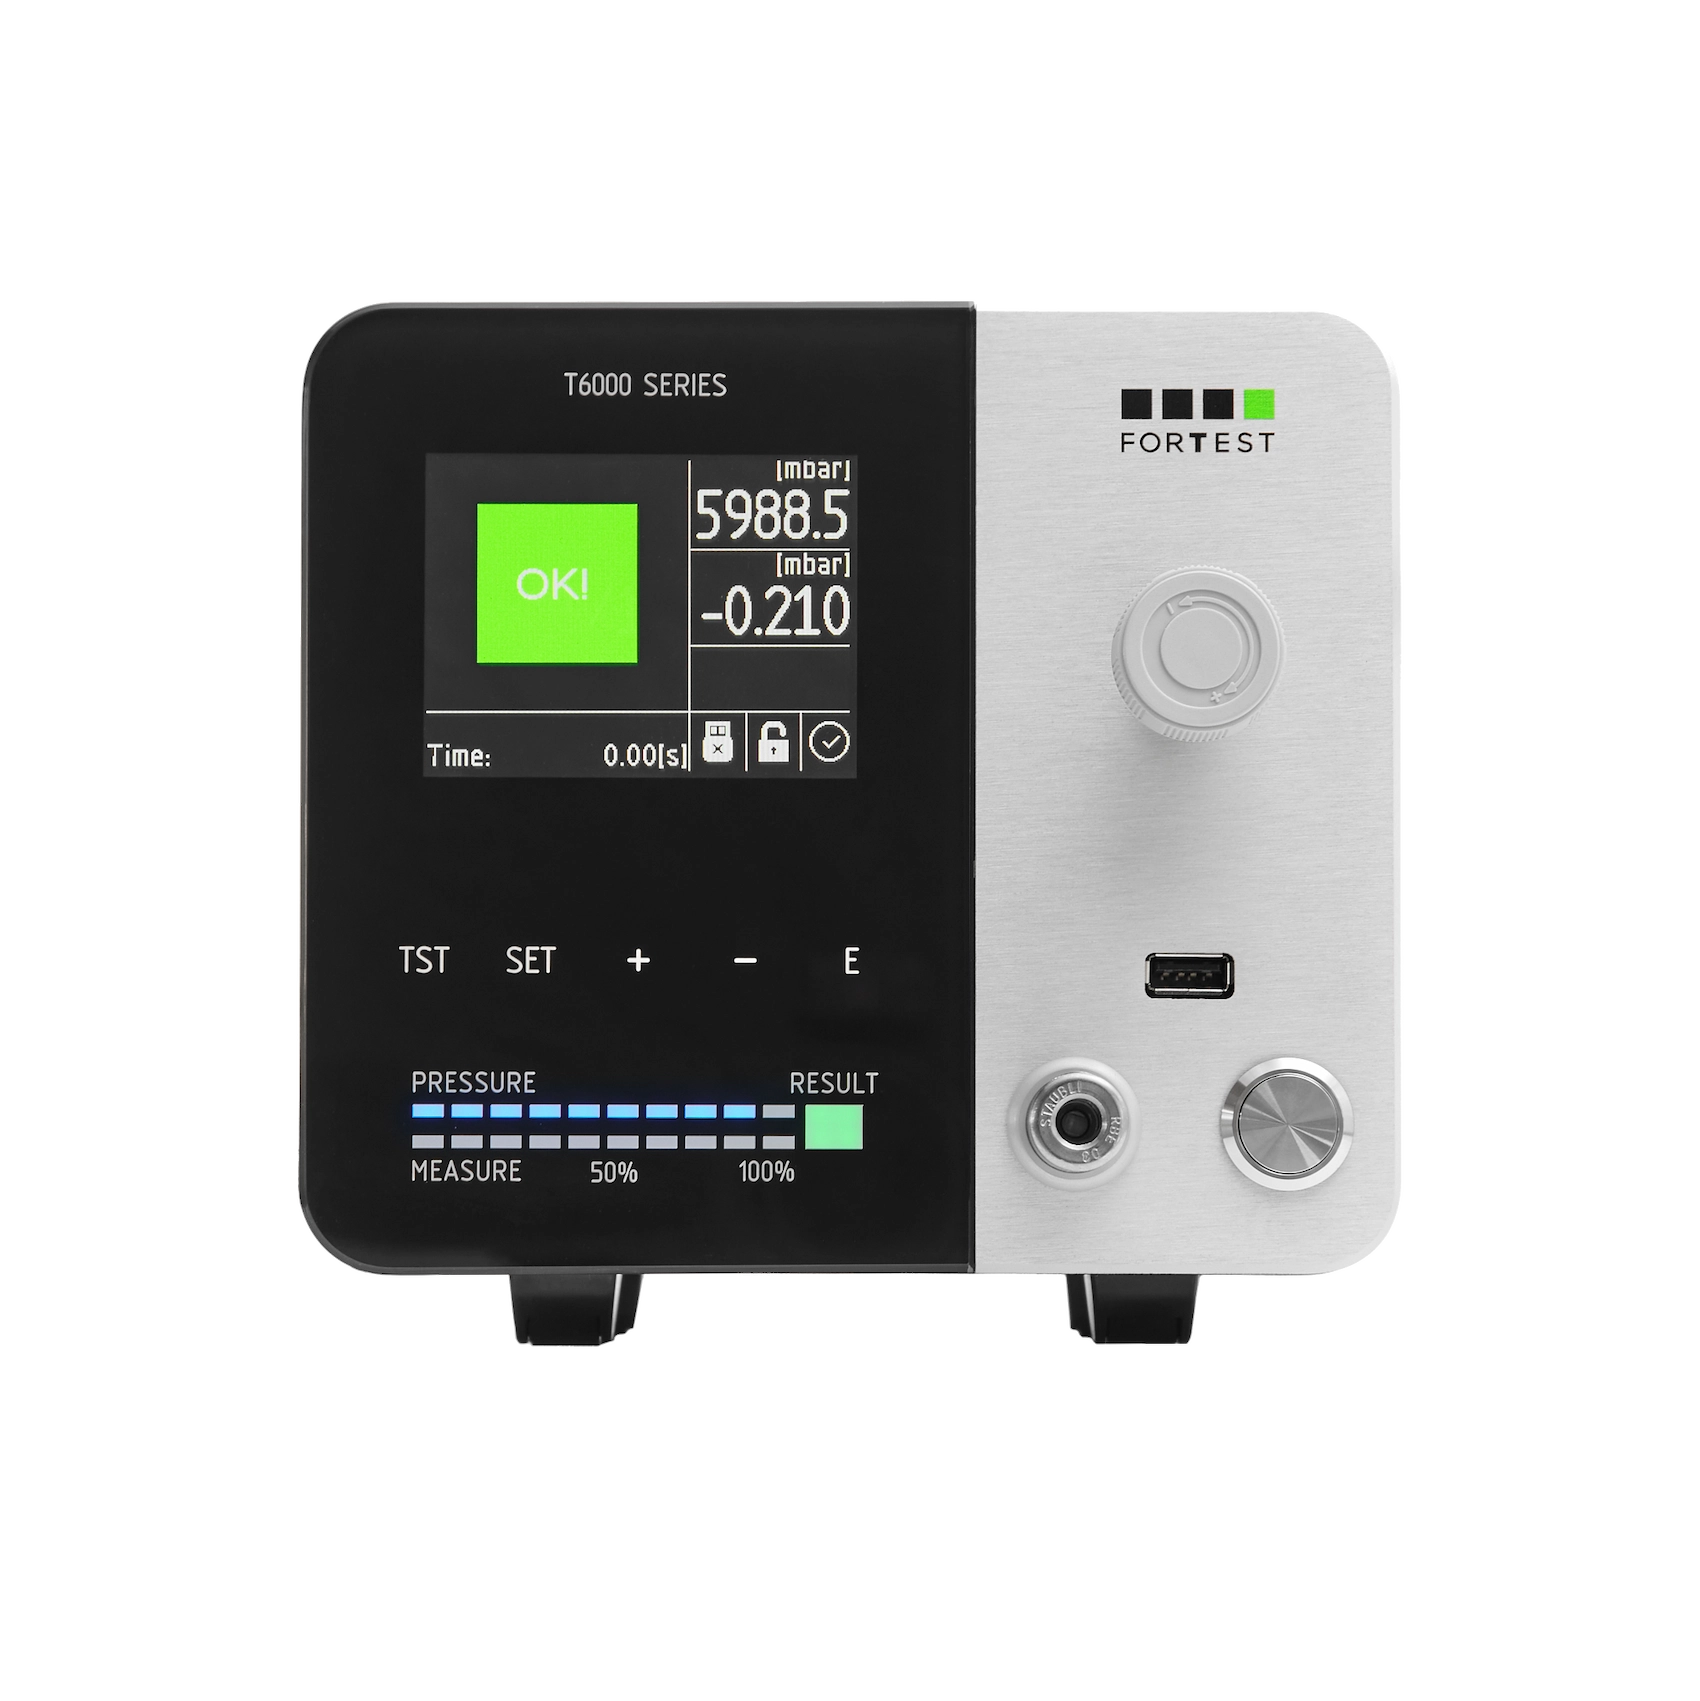
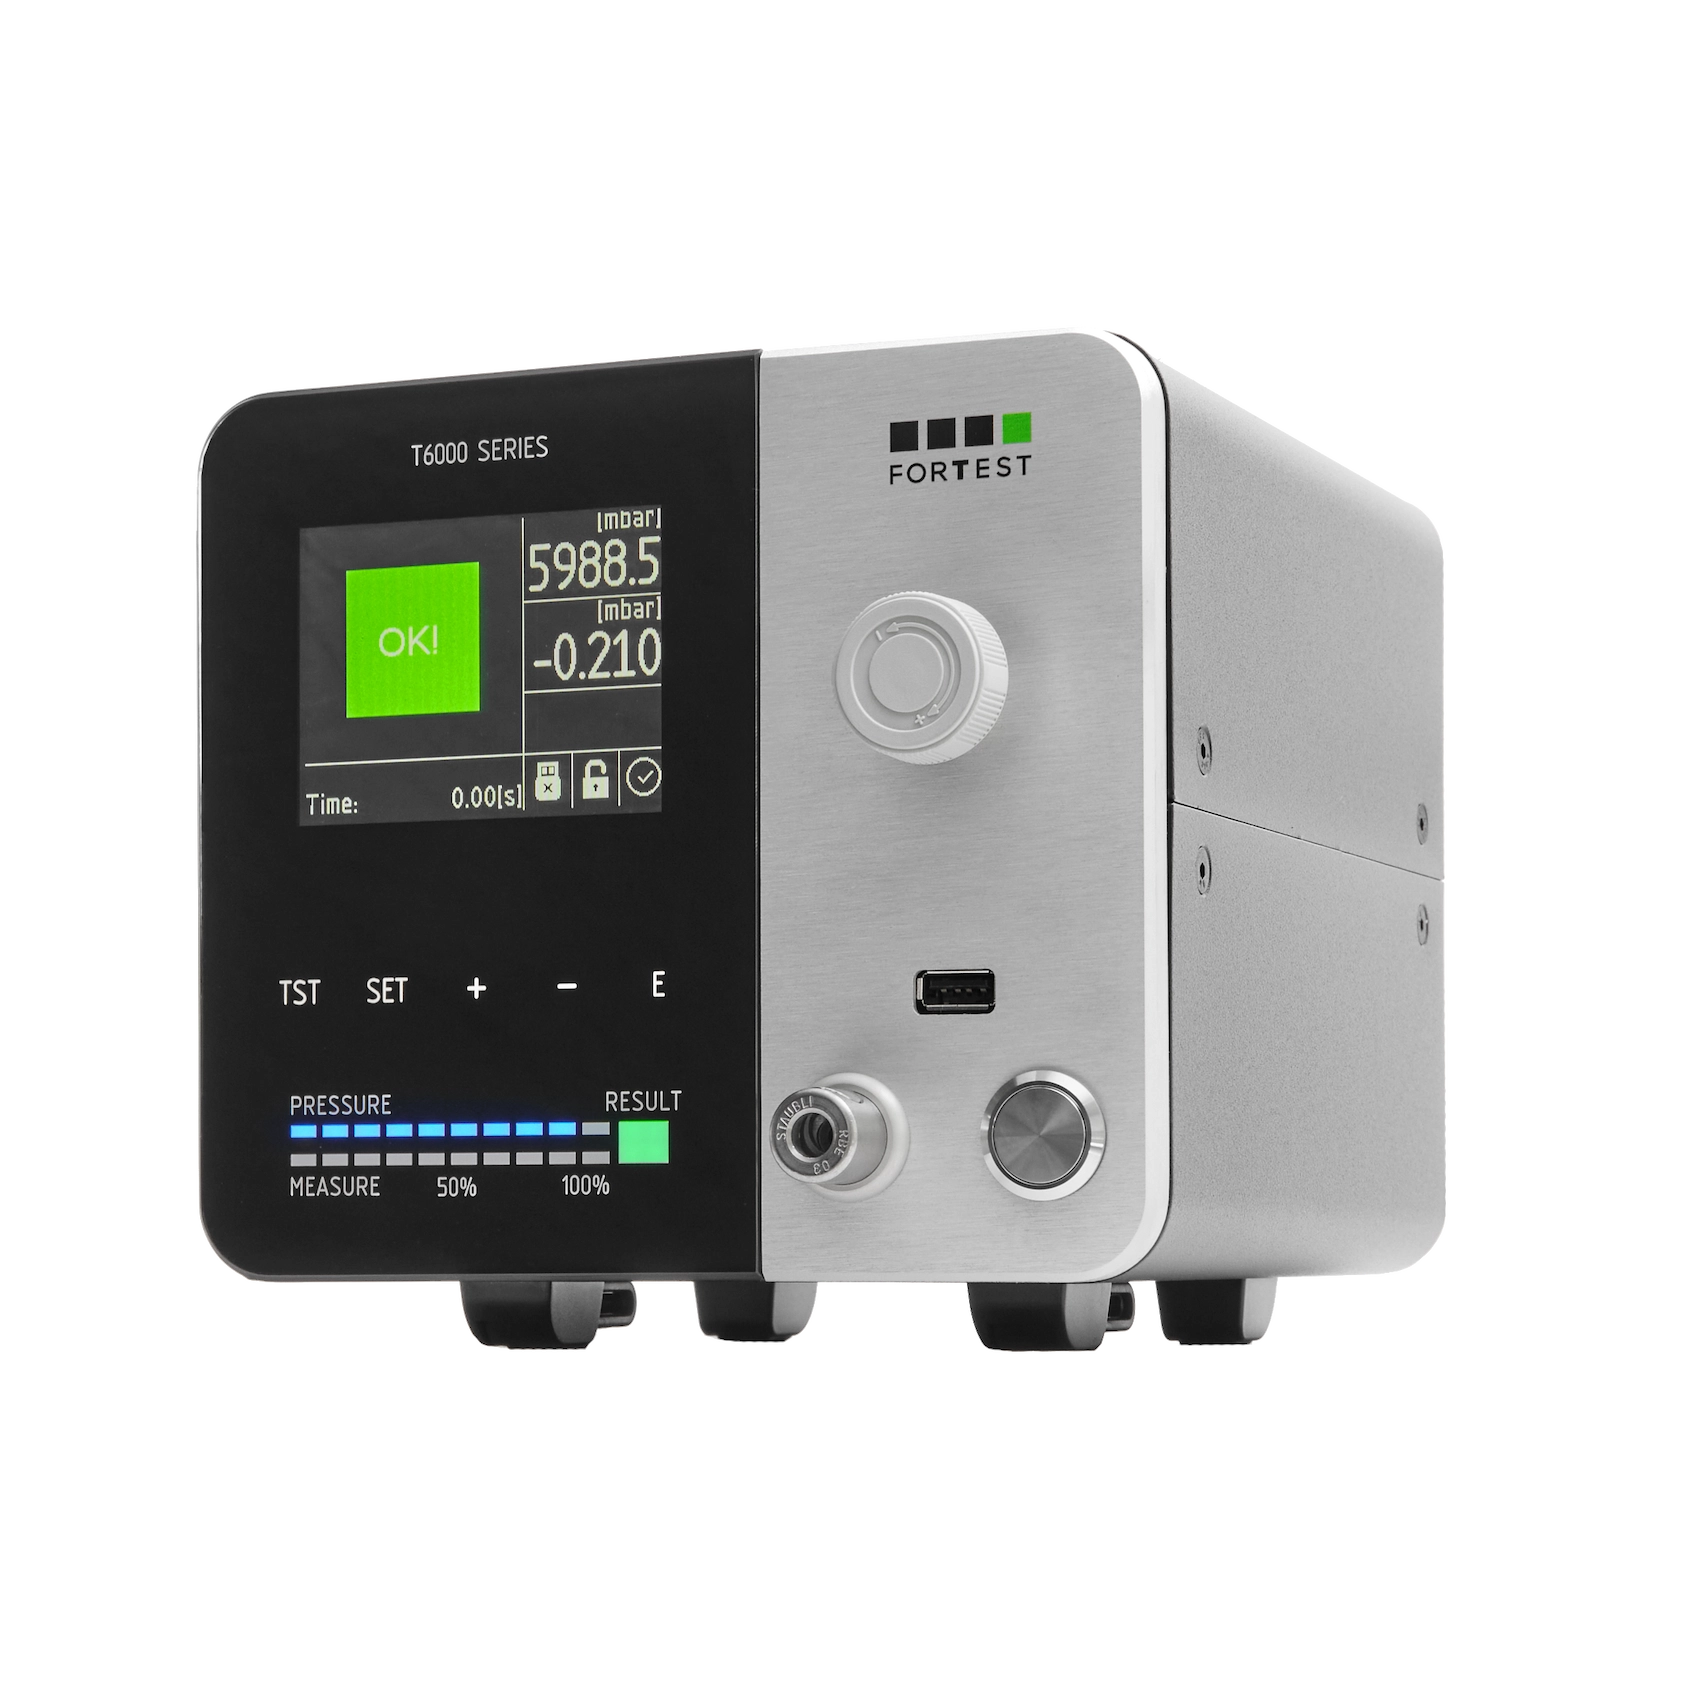
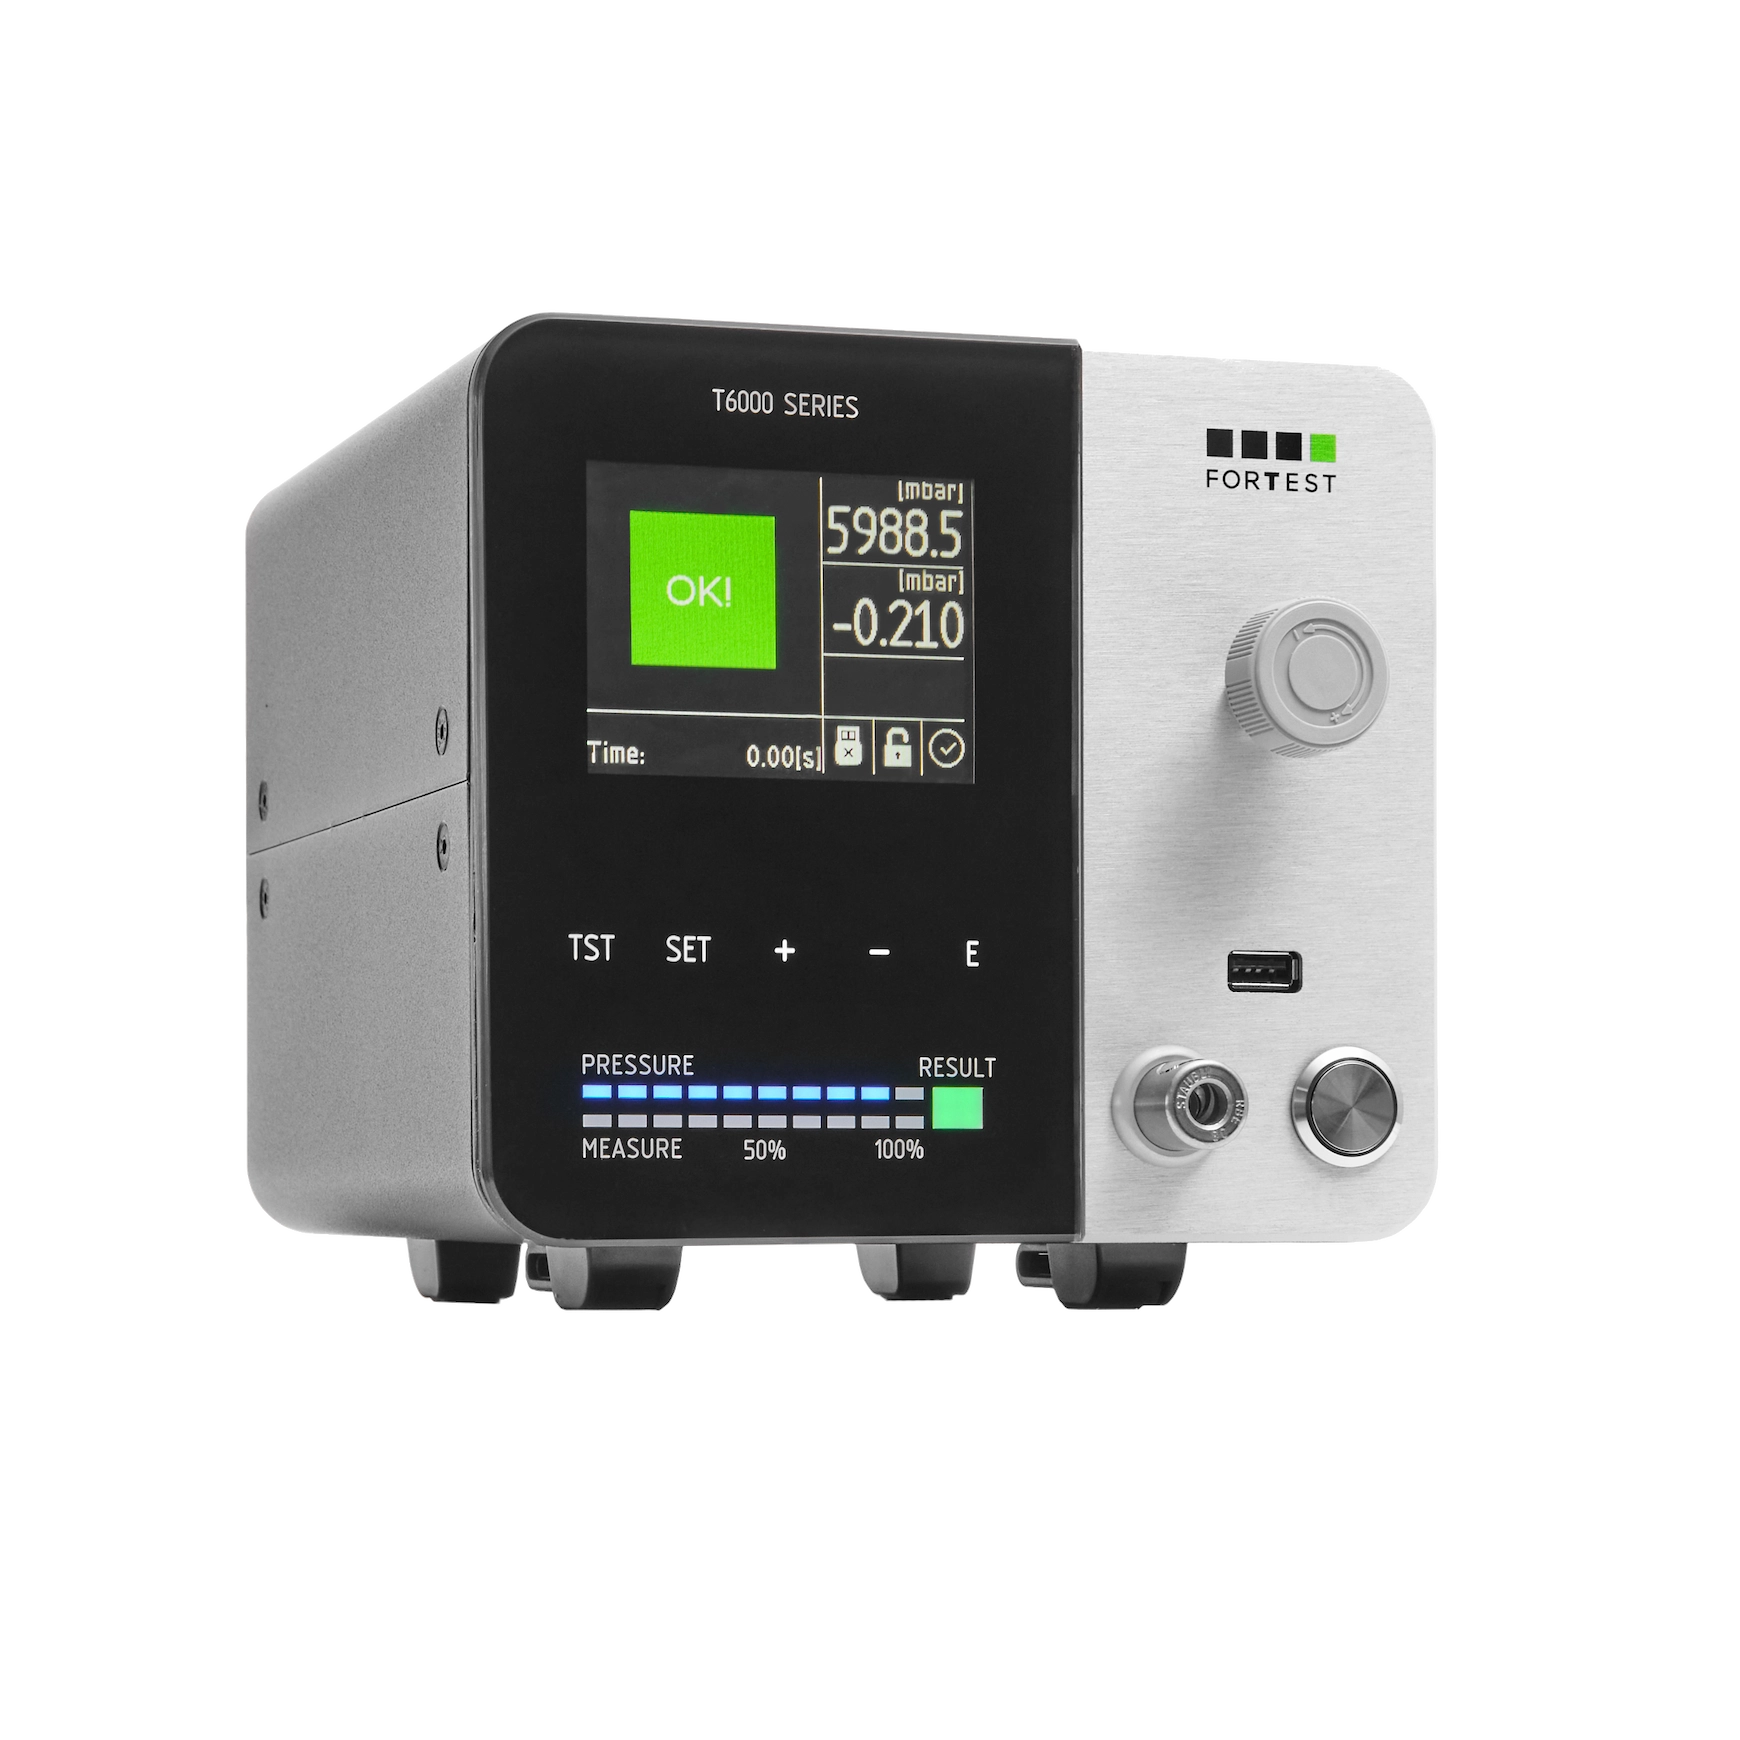
T6990, recalculating the success of its predecessor M6990, an obviously enhanced user interface, thanks to an innovative tempered glass panel with built-in capacitive keyboard, around a 3.5” colour display.
The new, high resolution display makes it even easier to view the test cycle and the programming menus, and the capacitive keyboard allows fast parameter entry.


 3,5” colour display Touch screen capacitive keyboard

All the connections you need.
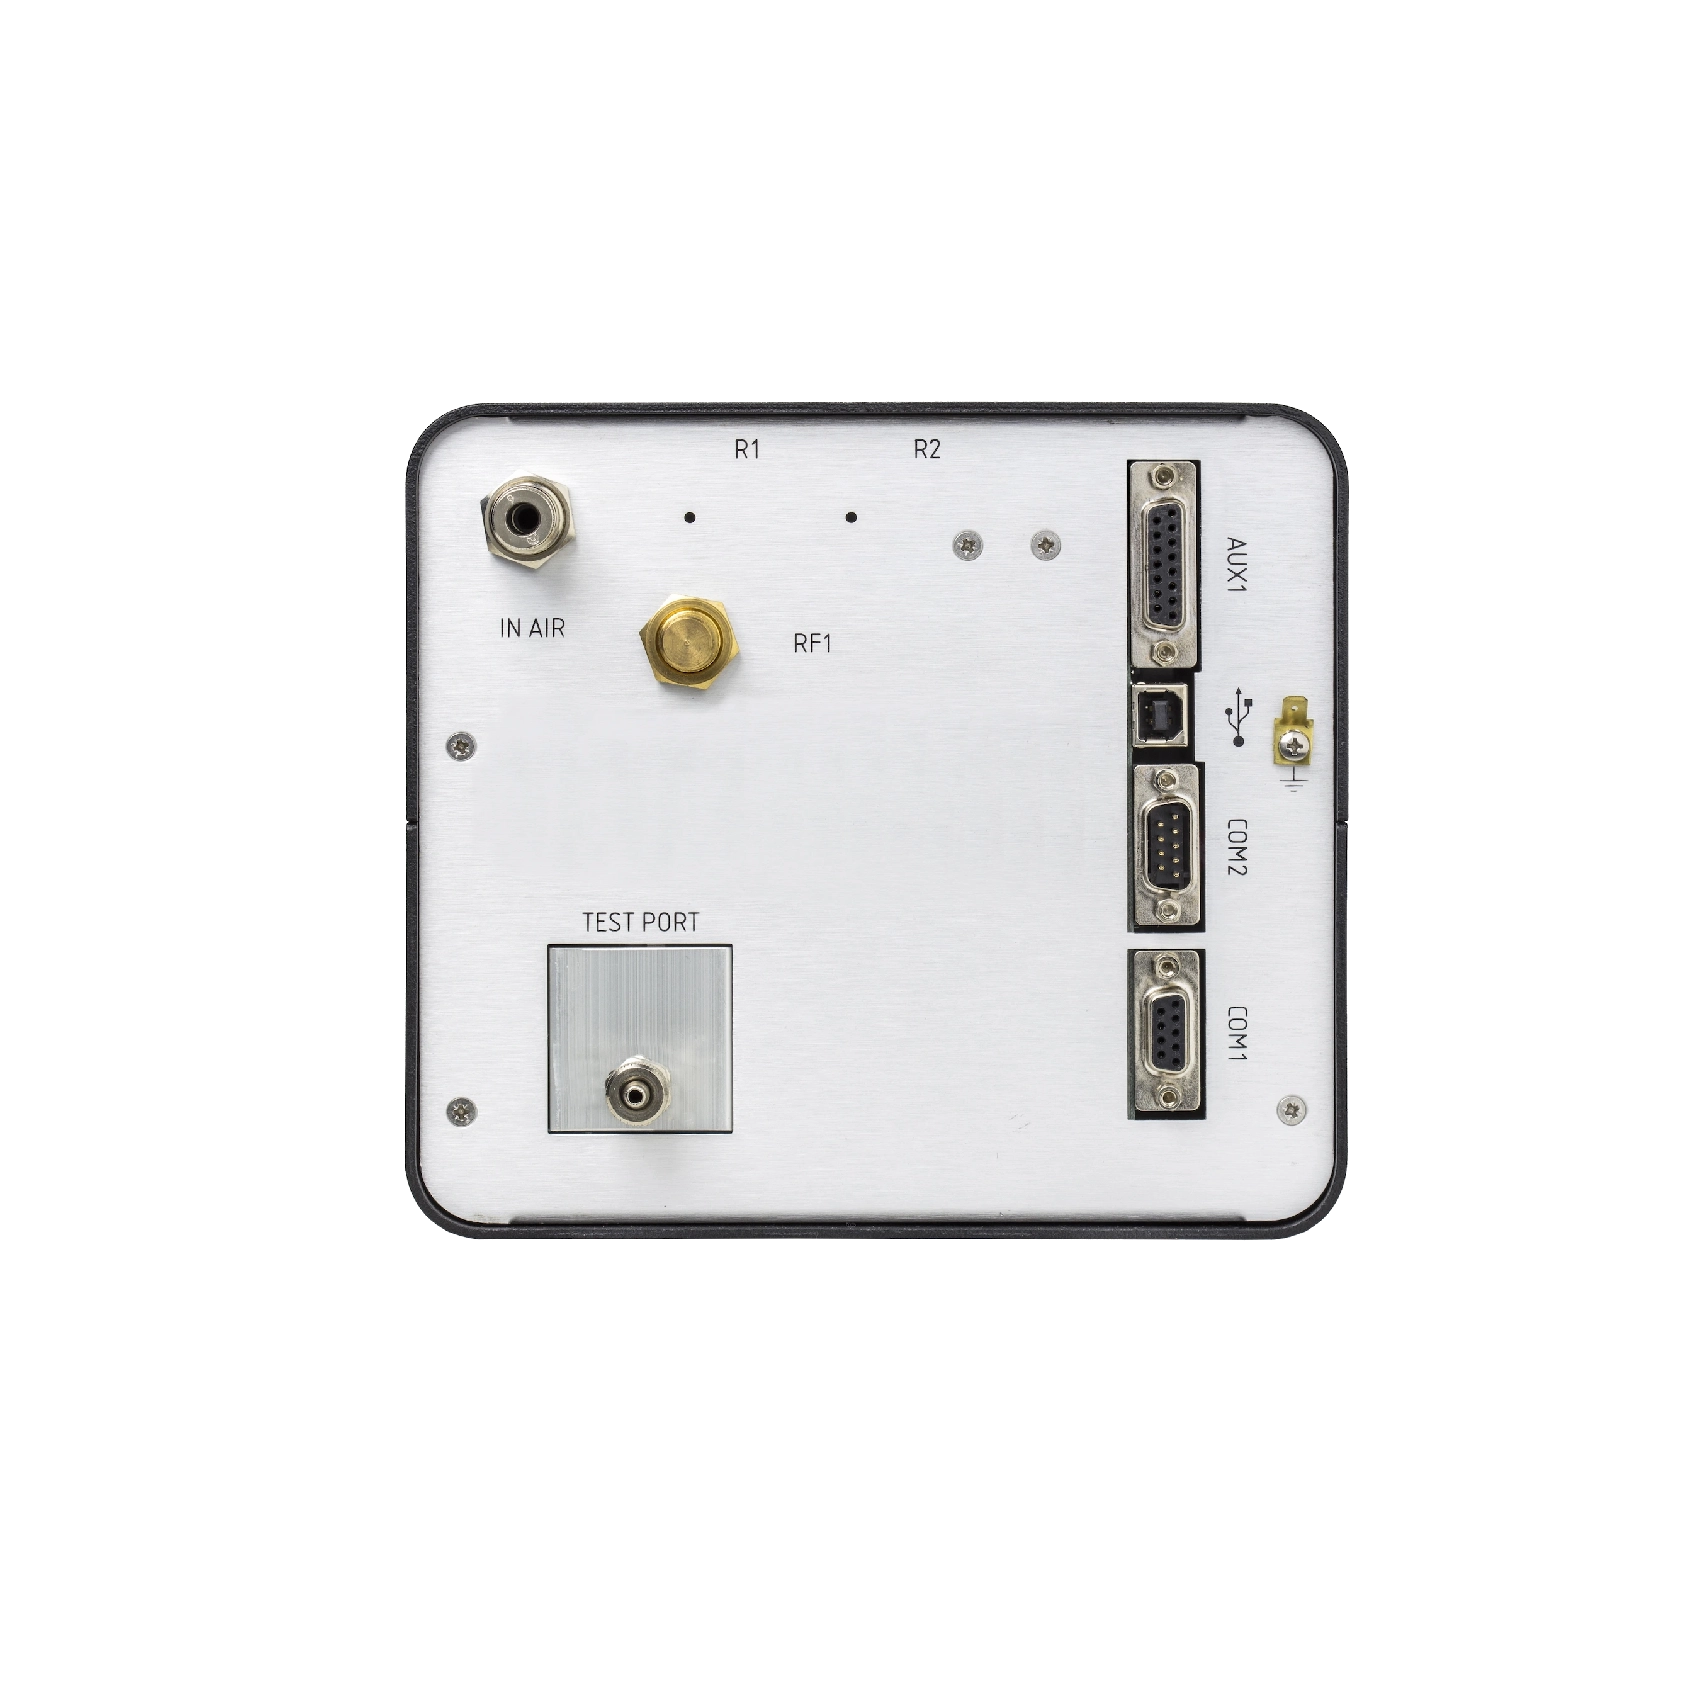
T6990 has a more limited port supply than high level range, but is equally complete: a USB slave port, RS232, RS485 and Can bus.
The front panel has a master USB port for connection to a USB key to save the tests conducted, backup/restore parameters and upgrade tool firmware.
The connection to thermal printers, barcode/data-matrix readers and markers takes place automatically using an internal menu.
 
     
Usb key High power outputs RS232, RS485, Can

So small, yet so powerful.
T6990 can count on a measurement resolution of 0.1 Pa to 1 bar (0.5 Pa to 6 bar) stable and noise-free, sharing a part of the measurement section implemented on the higher series T8000 and T9000.
Despite being designed as an entry-level tool, the measurement performance is absolutely comparable to those of the rest of the ForTest range.


Advanced measurement performance Resolution from 0.1 Pa

Ultra compact pneumatics.
T6990, to keep dimensions as compact as possible, assembles a pneumatic unit with standard valves, ideal to test volumes up to 5 litres. The robustness of these valves allows you to eliminate any activity of scheduled maintenance, thus guaranteeing cost optimization for the Customer.
 
     
Ideal for volumes up to 5 litres High strength against humidity No periodic maintenance

Everything is where it should be.
Despite the compact dimensions which made use of more simplified menus necessary, the T6990 user interface was however designed to facilitate programming of the test parameters.
The front panel is made of a single sheet of tempered glass and aluminium, which makes it extremely easy to clean, making the T6990 suitable for use in the laboratory and on the production line.
The extensive internal menus are easy to understand and the graphic interface was designed to only display important information.
Everything is exactly where it should be.
 
     
User-friendly interface Easy to clean 360° use


Model 0-1 bar 1-2 bar 2-6 bar 6-10 bar
Accuracy Dp 0,5% RDG+3DGT 0,5% RDG+3DGT 0,5% RDG+3DGT 0,5% RDG+3DGT
Range of measurements Dp 0-65 mbar 0-65 mbar 0-65 mbar 0-65 mbar
Resolution Dp 0,001 mbar 0,002 mbar 0,005 mbar 0,01 mbar
Direct pressure accuracy 0,5%FS 0,5%FS 0,5%FS 0,5%FS
Direct pressure measurement range 0-FS 0-FS 0-FS 0-FS
Direct pressure resolution 0,1 mbar 0,1 mbar 0,1 mbar 1 mbar
 
Accuracy measuring loss in cc/’ 1%RDG+0,03cc/min 1%RDG+0,03cc/min 1%RDG+0,03cc/min 1%RDG+0,03cc/min
Measurement range in cc/’ 0-10 cc/min 0-10 cc/min 0-10 cc/min 0-10 cc/min
Measured measurement resolution in cc/’ 0,01 cc/min 0,01 cc/min 0,01 cc/min 0,01 cc/min
Accuracy measure volume in cc - - - -
Volume range in cc - - - -
Volume measurement resolution in cc - - - -
measure unit mbar, bar, psi, mmHg, mmH2O, Pa, HPa, cc/min, cc/h, pressure/s.
Dimensions 180X160X200 mm
Weight 5 kg
Display size 320x240 pixel
Operating temperature range 5-40 °C
RS232 ports 2
RS485 ports 1
“master” usb port 1
“slave” usb port 1
Ethernet port -
I/O signals Start, Stop, Filling, Test, Good, Reject, 3BCD
Auxiliaries
I/O signals (optional)
-
Number of programs 100
 Test archive memory Standard
Password block Yes
Program name No
Note The resolution to be considered for accuracy is always 1 Pa.

Reference Normatives: EN 61010-1, EN61326-1 / EN61326/A1, EN61000-3-2 / EN61000-3-2/A14, EN61000-3-3 / EN61000-3-3/A1, EN61000-4-2 / EN61000-4-2/A1, EN61000-4-3 / EN61000-4-3/A1 / EN61000-4-3/A2, EN61000-4-4, EN61000-4-5, EN61000-4-11, EN1779
 
  • The resolution for uncertainty calculation is 1 Pa up to 10 bar.
  • The flow measurement of the flow meters is of mass type and referred to the reference condition of 0°C - 1013,25mbar.
  • Flow measurement of leak test equipment is volumetric.
  • Accuracy data are referred to and guaranteed under laboratory calibration conditions.
  • The accuracy of the flow measurement is referred up to 2 bar, for higher pressures variations are possible depending on the characteristics of the model.
  • For measurement scales greater than the limits indicated, the accuracy will be specified in the offer phase.

TECHNICAL DATESHEET PDF

  • External exhaust solenoid with protection filter
  • 3 way pneumatic valve
  • Pilotage solenoid
  • 5 way Pneumatic valve
  • External start button
  • External start/abort pushbutton
  • External pushbutton 4 programs selection
  • Start pedal
  • Barcode reader
  • Adhesive label for printer 4500pcs
  • Aux signals extension cable
  • Venturi Vacuum generator
  • Air filter
  • Staubli male connector
  • Precision micrometer nozzle
  • Micrometer nozzle
  • M series manager software
  • Serial protocol
  • Electrovalve group "Cylinder's" type with filter
  • PC serial cable owner - M Series
  • External temperature probe
  • 3-way pneumatic valve with pilot valve
  • Software Data Manager
  • Staubli female fitting
  • Thermal printer with peel-off
  • Thermal printer without peel
  • Adapter cable AUX M Series - ET Series
  • Remote Start / Abort / Good / Reject
  • Air filter 5 micron

  • Pneumatics with micro electro valves
  • Frontal connector for Staubli calibrated leak - (STANDARD)
  • Bi-manual logic Start Input
  • Active USB port - (STANDARD)
  • High resolution measure - (STANDARD)

Message Sent

Message not sent

Message not sent correctly. Check out your connection