DIFFERENTIAL
  ABSOLUTE
  FLOW
  METROLOGY
  SOFTWARE
  DIFFERENTIAL
  ABSOLUTE
  FLOW
  METROLOGY
  SOFTWARE

T8980

"Compliance" universal leak tester

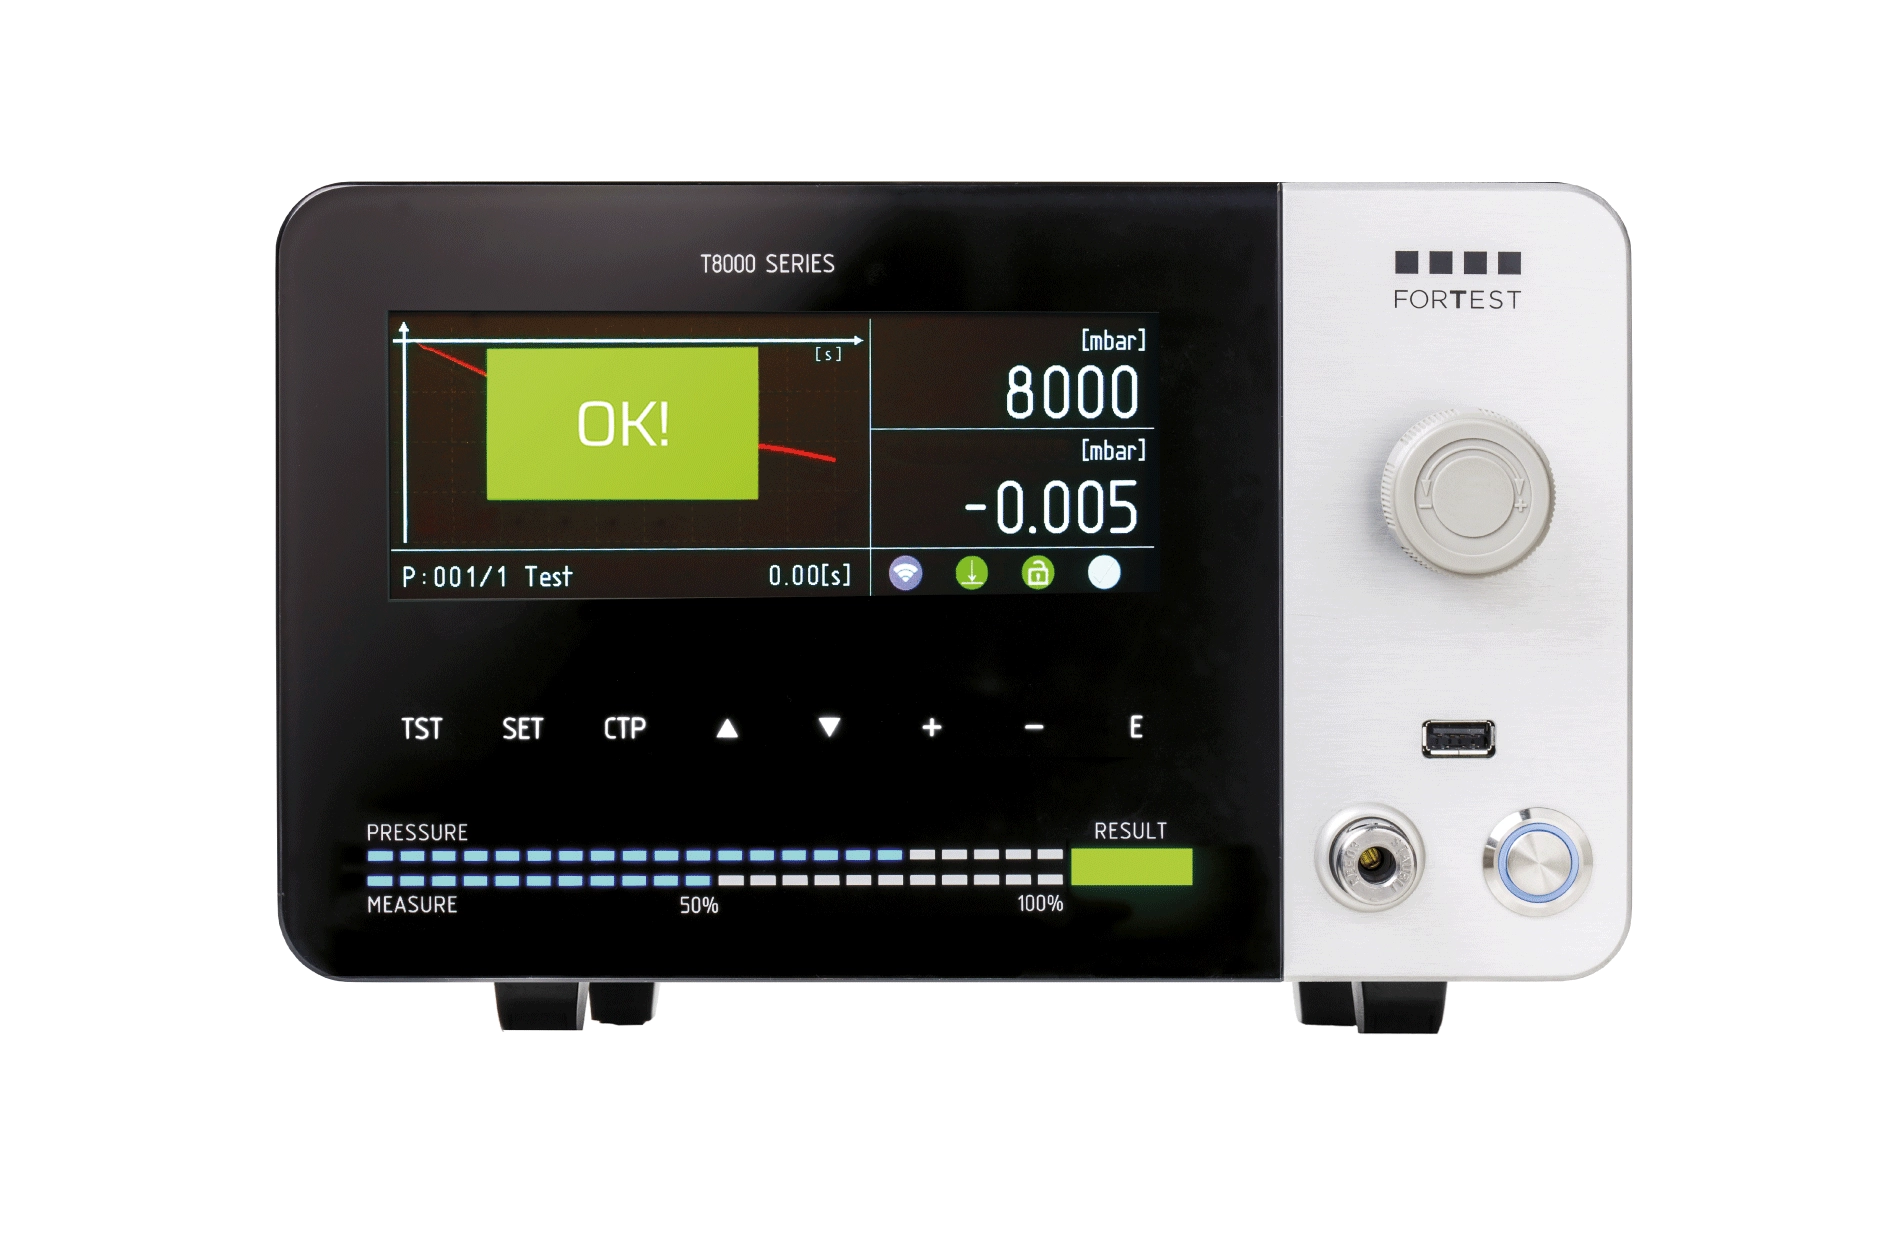
ForTest_T8980_Compliance_LeakTester_Standard_Level.jpg

Shut-off testing.
In some particular situations, i.e. when the maximum permitted leak is too small, the only solution is to close the piece being testing inside a hermetic bell and pass to a shut-off "compliance" system, like the new T8980.
This equipment has 2 measurement sections, the first injects test air inside the piece being tested, the second measures the pressure increase inside the gaps in the containment bell. Then, if the piece being tested has a leak, it will transfer the pressure load in the bell, causing the pressure to increase inside it, which will then be detected by the leaks measurement section.
By doing so, in complete safety, very high test pressure is used (even 100 bar) and extremely low leaks are detected, even a few cc/h.


Leaks visible of a few cc/h Test pressure up to 100 bar Independent measurement sections
 
Limitless connectivity.
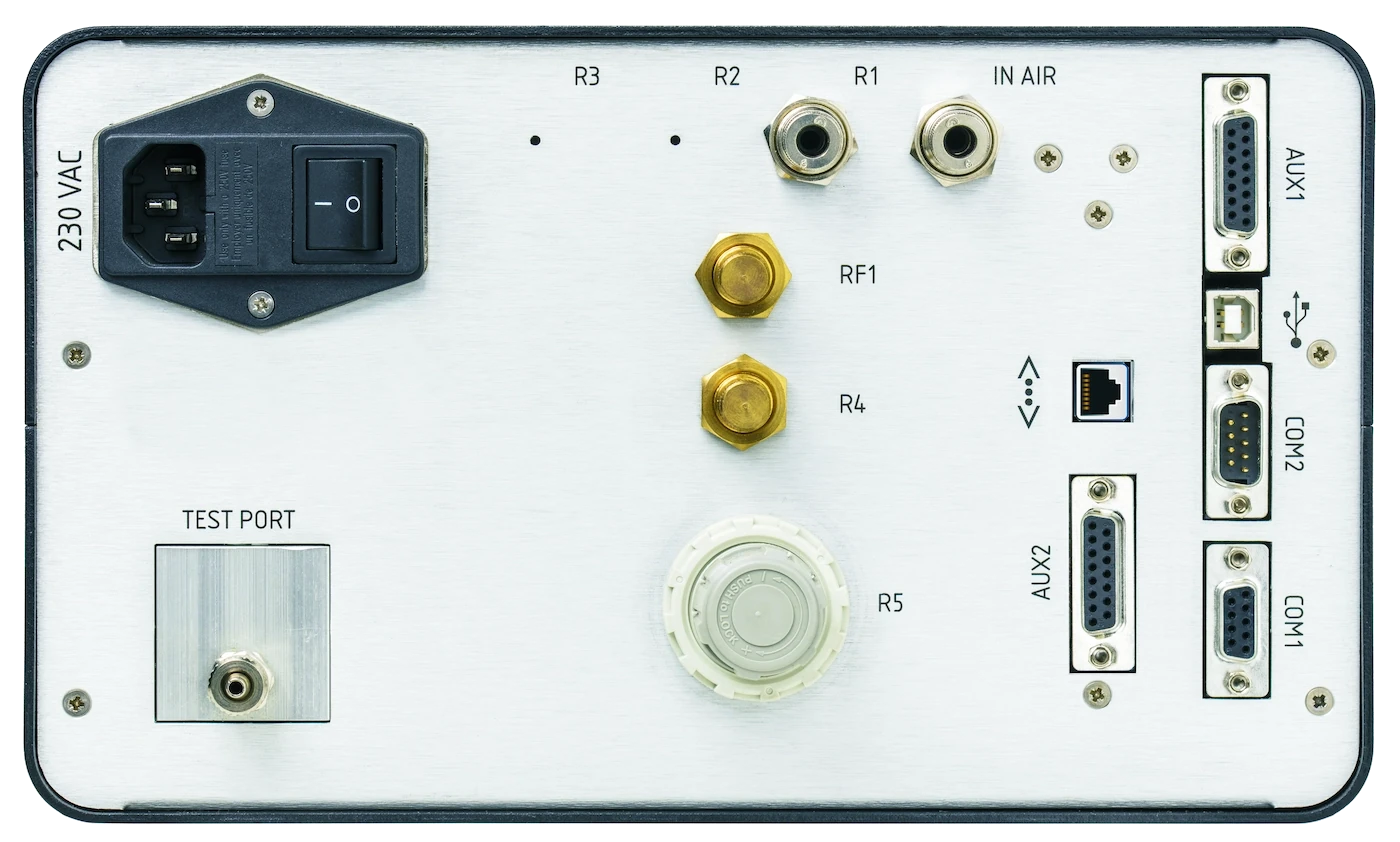
The new T8980 equipment includes ports for the USB slave, RS232, RS485, Profinet, EtherNet IP and EtherCAT. Assembly may also include an optional Ethernet port and a 26-pole connector with 4 inputs and 8 outputs, which are completely programmable, for interfacing with the external valves, safety barriers, switches, etc...
The front panel has a master USB port assembled on it for connection to a USB key to save the tests conducted, backup/restore parameters and upgrade tool firmware.
The connection to thermal printers, barcode/data-matrix readers and markers takes place automatically using an internal menu.
 
       
Usb key High power outputs RS232, RS485, Can, TTY Ethernet and auxiliary connector

Always better measurements.
By nature, compliance technology enables a measurement sensitivity even better than absolute decay, guaranteeing a decay resolution of 0.1 Pa up to 6 bar testing.
The implementation of new pressure sensors, combined with the measurement section with centring technology in windows and double Faraday optical-isolated cage has made further improvement possible of the tool performance.


“Compliance” technology Centring technology in windows Resolution of 0.1 Pa up to 6 bar

Optimised pneumatic section.
Assembly of the latest generation solenoid valves has enabled a 30% increase in the filling speed compared to the previous model, maintaining reliability unaltered over time. Our tools do not require expensive maintenance in the pneumatic department. Actually, our objective is to make them increasingly reliable and long-lasting.
 
     
Filling speed +30% High strength against humidity No periodic maintenance

Innovative design.
What appears to be a simple design exercise, in fact hides an in-depth study to make use and understanding of the tool as simple as possible.
The front panel is made of a single sheet of tempered glass and aluminium, which makes it extremely easy to clean, making the T8980 suitable for use in the laboratory and on the production line.
The extensive internal menus are easy to understand and the graphic interface was designed to only display important information.
Everything is exactly where it should be.
 
     
User-friendly interface Easy to clean Use in sectors at 360°


Model 0-0,5 bar 0,5-6 bar 6-10 bar 10-20 bar 20-50 bar
Accuracy Dp 0,5% RDG+3DGT 0,5% RDG+3DGT 0,5% RDG+3DGT 0,5% RDG+3DGT 0,5% RDG+3DGT
Range of measurements Dp 0-65 mbar 0-65 mbar 0-650 mbar 0-650 mbar 0-650 mbar
Resolution Dp 0,001 mbar 0,001 mbar 0,001 mbar 0,001 mbar 0,01 mbar
Direct pressure accuracy 0,5%FS 0,5%FS 0,5%FS 0,5%FS 0,5%FS
Direct pressure measurement range 0-FS 0-FS 0-FS 0-FS 0-FS
Direct pressure resolution 0,1 mbar 0,1 mbar 0,1 mbar 0,1 mbar 0,1 mbar
Accuracy measuring loss in cc/’ 1%RDG+0,03cc/min 1%RDG+0,03cc/min 1%RDG+0,03cc/min 1%RDG+0,03cc/min 1%RDG+0,03cc/min
Measurement range in cc/’ 0-10 cc/min 0-10 cc/min 0-10 cc/min 0-10 cc/min 0-10 cc/min
Measured measurement resolution in cc/’ 0,01 cc/min 0,01 cc/min 0,01 cc/min 0,01 cc/min 0,01 cc/min
Accuracy measure volume in cc 1,5%RDG+2cc/min 1,5%RDG+2cc/min 1,5%RDG+2cc/min 1,5%RDG+2cc/min 1,5%RDG+2cc/min
Volume range in cc 0-500 cc 0-500 cc 0-500 cc 0-500 cc 0-500 cc
Volume measurement resolution in cc 0,1 cc/min 0,1 cc/min 0,1 cc/min 0,1 cc/min 0,1 cc/min
Measure unit mbar, bar, psi, mmHg, mmH2O, Pa, HPa, cc/min, cc/h, pressure/s.
Dimensions 270X160X300 mm
Weight 8 kg
Display size 800x280 pixel
Operating temperature range 5-40 °C
RS232 ports 2
RS485 ports 1
“master” usb port 1
“slave” usb port 1
Ethernet port Optional
I/O signals Start, Stop, Filling, Test, Good, Reject, 4BCD
Auxiliary I/O signals (optional) 8 output programmable, 4 input programmable, 4BCD
Number of programs 300
 Test archive memory Advanced
Password block Yes
Program name Yes, 16 characters
Note The resolution to be considered for accuracy is always 1 Pa.

Reference Normatives: EN 61010-1, EN61326-1 / EN61326/A1, EN61000-3-2 / EN61000-3-2/A14, EN61000-3-3 / EN61000-3-3/A1, EN61000-4-2 / EN61000-4-2/A1, EN61000-4-3 / EN61000-4-3/A1 / EN61000-4-3/A2, EN61000-4-4, EN61000-4-5, EN61000-4-11, EN1779
 
  • The resolution for uncertainty calculation is 1 Pa up to 10 bar.
  • The flow measurement of the flow meters is of mass type and referred to the reference condition of 0°C - 1013,25mbar.
  • Flow measurement of leak test equipment is volumetric.
  • Accuracy data are referred to and guaranteed under laboratory calibration conditions.
  • The accuracy of the flow measurement is referred up to 2 bar, for higher pressures variations are possible depending on the characteristics of the model.
  • For measurement scales greater than the limits indicated, the accuracy will be specified in the offer phase.

  • External exhaust solenoid with protection filter
  • External start/abort pushbutton
  • External pushbutton 4 programs selection
  • Start pedal
  • Barcode reader
  • Adhesive label for printer 4500pcs
  • Aux signals extension cable
  • Venturi Vacuum generator
  • Air filter
  • Staubli male connector
  • Precision micrometer nozzle
  • Micrometer nozzle
  • M series manager software
  • TTY
  • Serial protocol
  • PC serial cable owner ---> M Series
  • External temperature probe
  • MIXER-07
  • Software Data Manager
  • Staubli female fitting
  • Thermal printer with peel-off
  • Adapter cable AUX M Series ---> ET Series
  • Software "Data Manager"
  • Air filter 5 micron

  • Interior exhaust valve
  • Frontal precision pressure regulator
  • Pneumatic module of remote measurements
  • Electronic pressure Regulator
  • Auto zero primary pressure circuit
  • Pre-Filling
  • Waiting Primary pressure reading - (STANDARD)
  • Secondary Output of Waste (third result)
  • Leak Analog Output
  • I/O 24 Vdc expansion signal card
  • Bi-manual logic Start Input
  • Ethernet plug/TCP-IP
  • Active USB port
  • WI-FI connection
  • Radio remote control selection Kit
  • High resolution measure - (STANDARD)
  • Capacitance meter for piece volume measure
  • Double branches of pre-regulated pressures
  • Indirect measure - (STANDARD)

Message Sent

Message not sent

Message not sent correctly. Check out your connection